
Bulk Edit Your Photos with AI

AI Photo Editing: A Practical Guide to Bulk Processing
Introduction
Recently I got a new iPhone. I actually don't love it but that's a different story.
The standout feature of this generation of iPhones is not just the camera but the new app features, AI features and of course camera control.
Long story short, while experimenting with some automatic filter features, I accidentally modified thousands of photos from a recent trip.
Oh no!
I Googled (chatGPT'ed) and found there are a bunch of tools online that do this - primarily targeting photographers of course - they seemed fine but this seemed easy enough and I only needed it once.
How hard could it be?
Is There An Easier Way?
My first thought was simple - is there a way to use the "Google Photos - AI edit" button for each photo from that trip?
The answer is no, and even if it were possible, it wouldn't exactly solve my problem. While these "AI editors" are quite advanced, they wouldn't necessarily make the specific adjustments I needed. I was looking to make bulk changes to saturation and hue, plus fix some blurriness effects.
So what were my options?
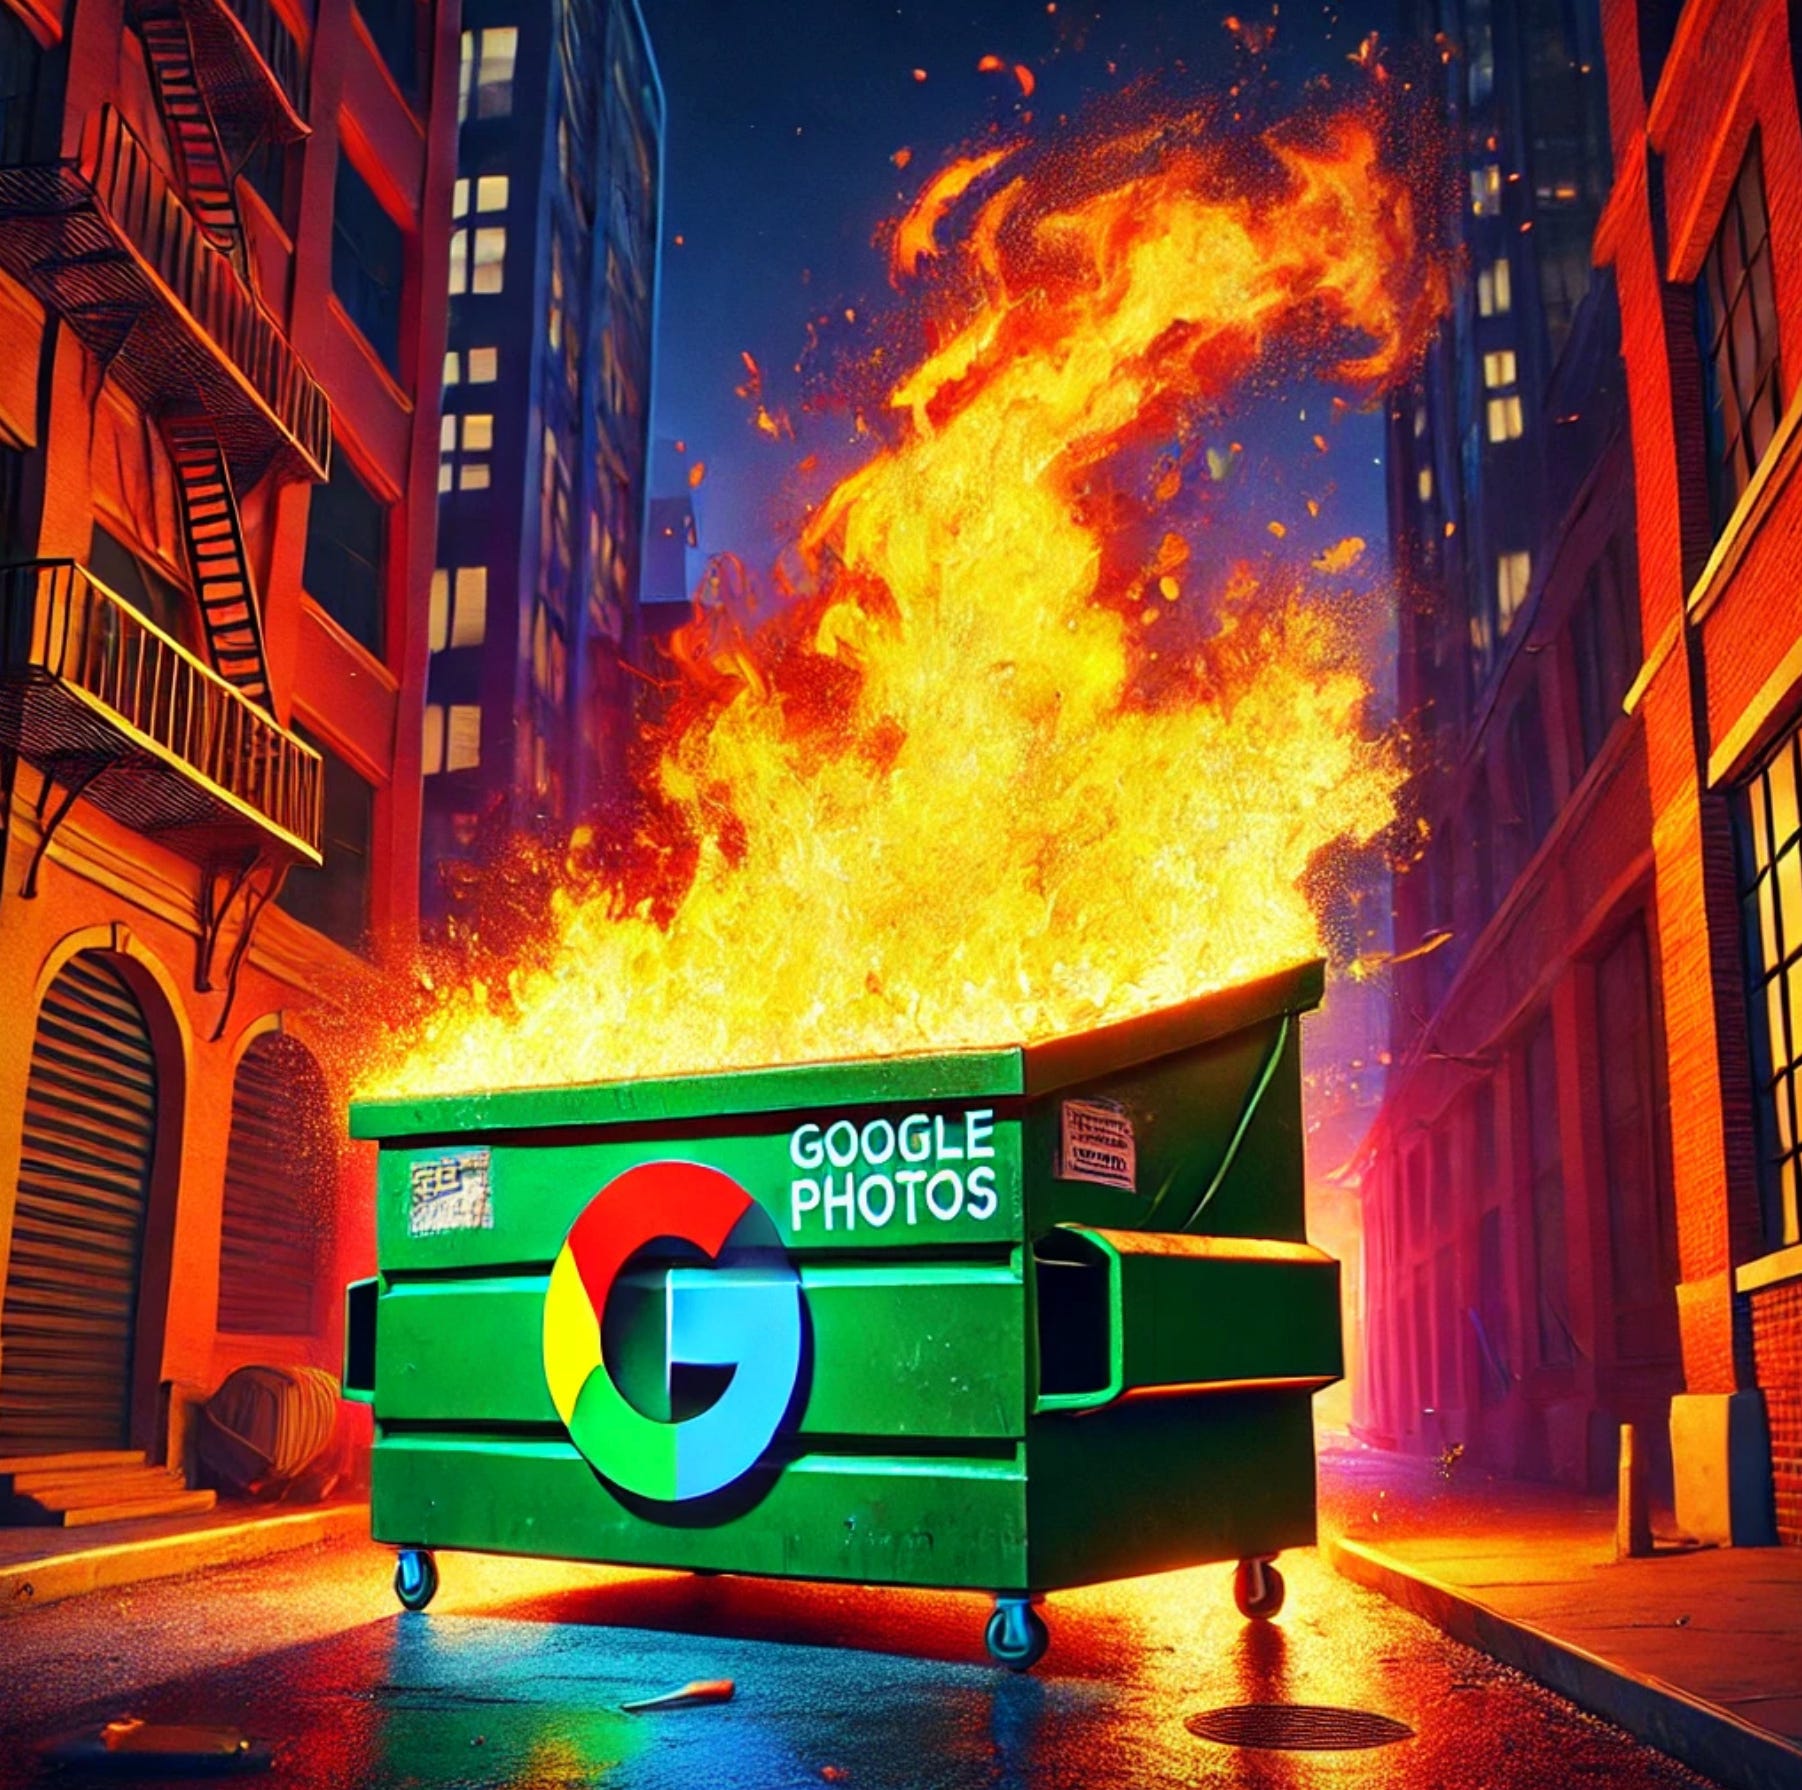
NOTE: for legal reasons I'd like to say this is a very dramatic photo I found funny. I actually adore Google Photos keep up the great work team.
AI To The Rescue?
Let's see!
The idea here is simple, let's just run a bunch of images through a model and see what we get! We can try different models, prompts, parameters, etc. and see what works.
Not A Tutorial I Swear!
In my tutorial repo, I walk through the basics of setting up an AI-based bulk photo editing pipeline. It's designed to be approachable for anyone familiar with Python who's interested in exploring AI tools.
What the Repo Covers
The repo has two main scripts:
main.py- this is the 'real' script - I made similar for the one I used myself - so this is probably at least a step closer to what you'd actually use if you wanted to try this.tutorial.py- a simplified version ofmain.pyto illustrate the basics of how to use an AI editor.
tutorial.py
First, let's go through the tutorial.py script.
The idea here is to boil main.py - and this editor concept as a whole - down to the basics.
It's a good starting point for anyone looking to understand how to use an AI editor and again how to potentially build your own.
Some notable points:
Uses Stable Diffusion 1.5 for reliable, tested performance
Automatic GPU/CPU detection and optimization
Simple strength parameter (0.0-1.0) to control enhancement intensity
Configurable prompt system for directing the AI's enhancements
Supports both single image and batch directory processing
Minimal dependencies (just torch, diffusers, and PIL)
Clear, documented code structure for learning purposes
main.py
The big script! I honestly wouldn't recommend reading too much into this one, you can see it's starting to get a bit more opinionated just to give an idea of how you can customize this idea.
Some notable points:
The core of this project lies in main.py, which implements a robust image processing pipeline using Stable Diffusion. Let's break down some key features:
Flexible Pipeline Configuration
Automatically detects and utilizes CUDA if available, falling back to CPU
Implements memory optimization techniques like model CPU offloading and VAE tiling
Configurable parameters for different quality/speed tradeoffs
Intelligent Image Processing
Maintains aspect ratios during resizing
Includes artifact detection to catch potential issues
Handles interruptions gracefully (Ctrl+C support)
Provides detailed logging for monitoring progress
Batch Processing Capabilities
Supports processing entire directories of images
Can run in "sample" mode to try multiple presets
Maintains metadata about the enhancement process
Progress tracking for both single and multi-preset runs
Error Handling and Recovery
Robust error handling for common issues (CUDA out of memory, file I/O)
Detailed logging for debugging
Graceful cleanup on interruption
presets.py
This is just where I set the parameters for each 'preset' i.e., the model, the prompt, the parameters, etc.
This will also definitely be where you'll do a lot of customization especially if you use this script / set up specifically.
What's The Difference?
Key differences between tutorial.py and main.py:
No presets system
Simplified error handling
Basic logging only
No progress tracking
No interruption handling
No metadata generation
No image size presets
Results!
So how does it perform? Well let's try!
So here's the before, my oversaturated, messy photo:
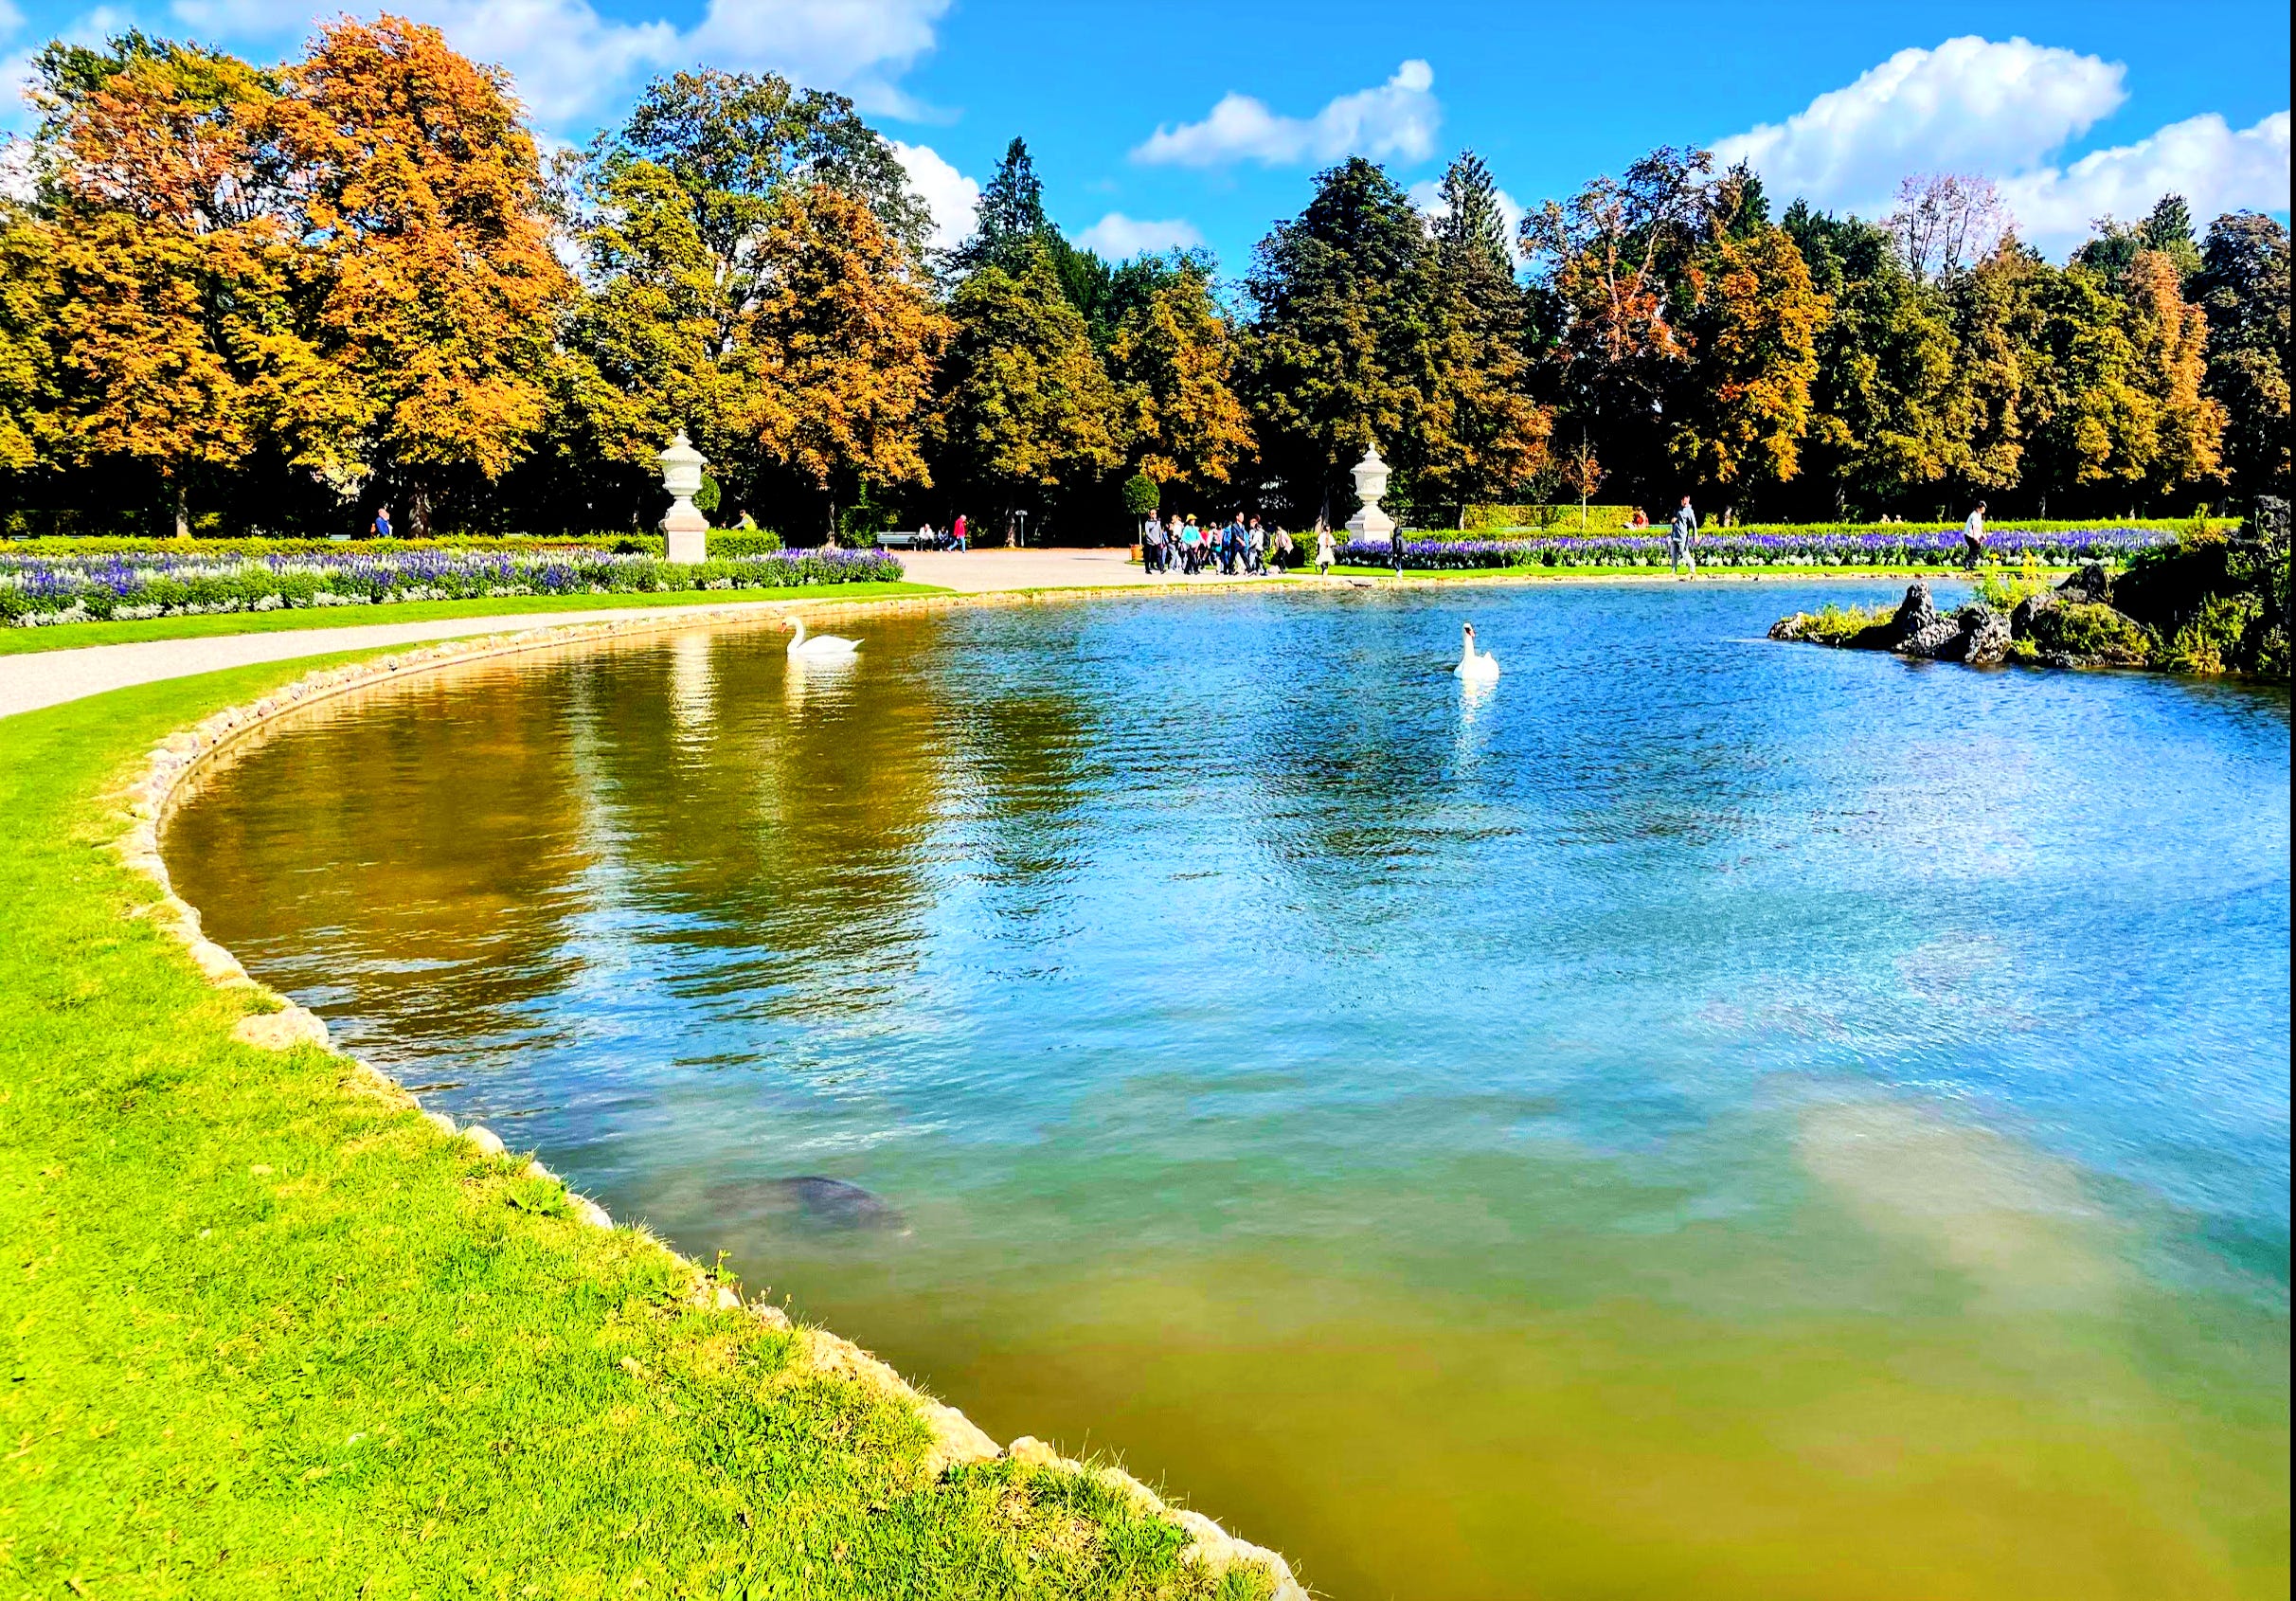
Not terrible but you hopefully see my issue.
Then the fixed version:
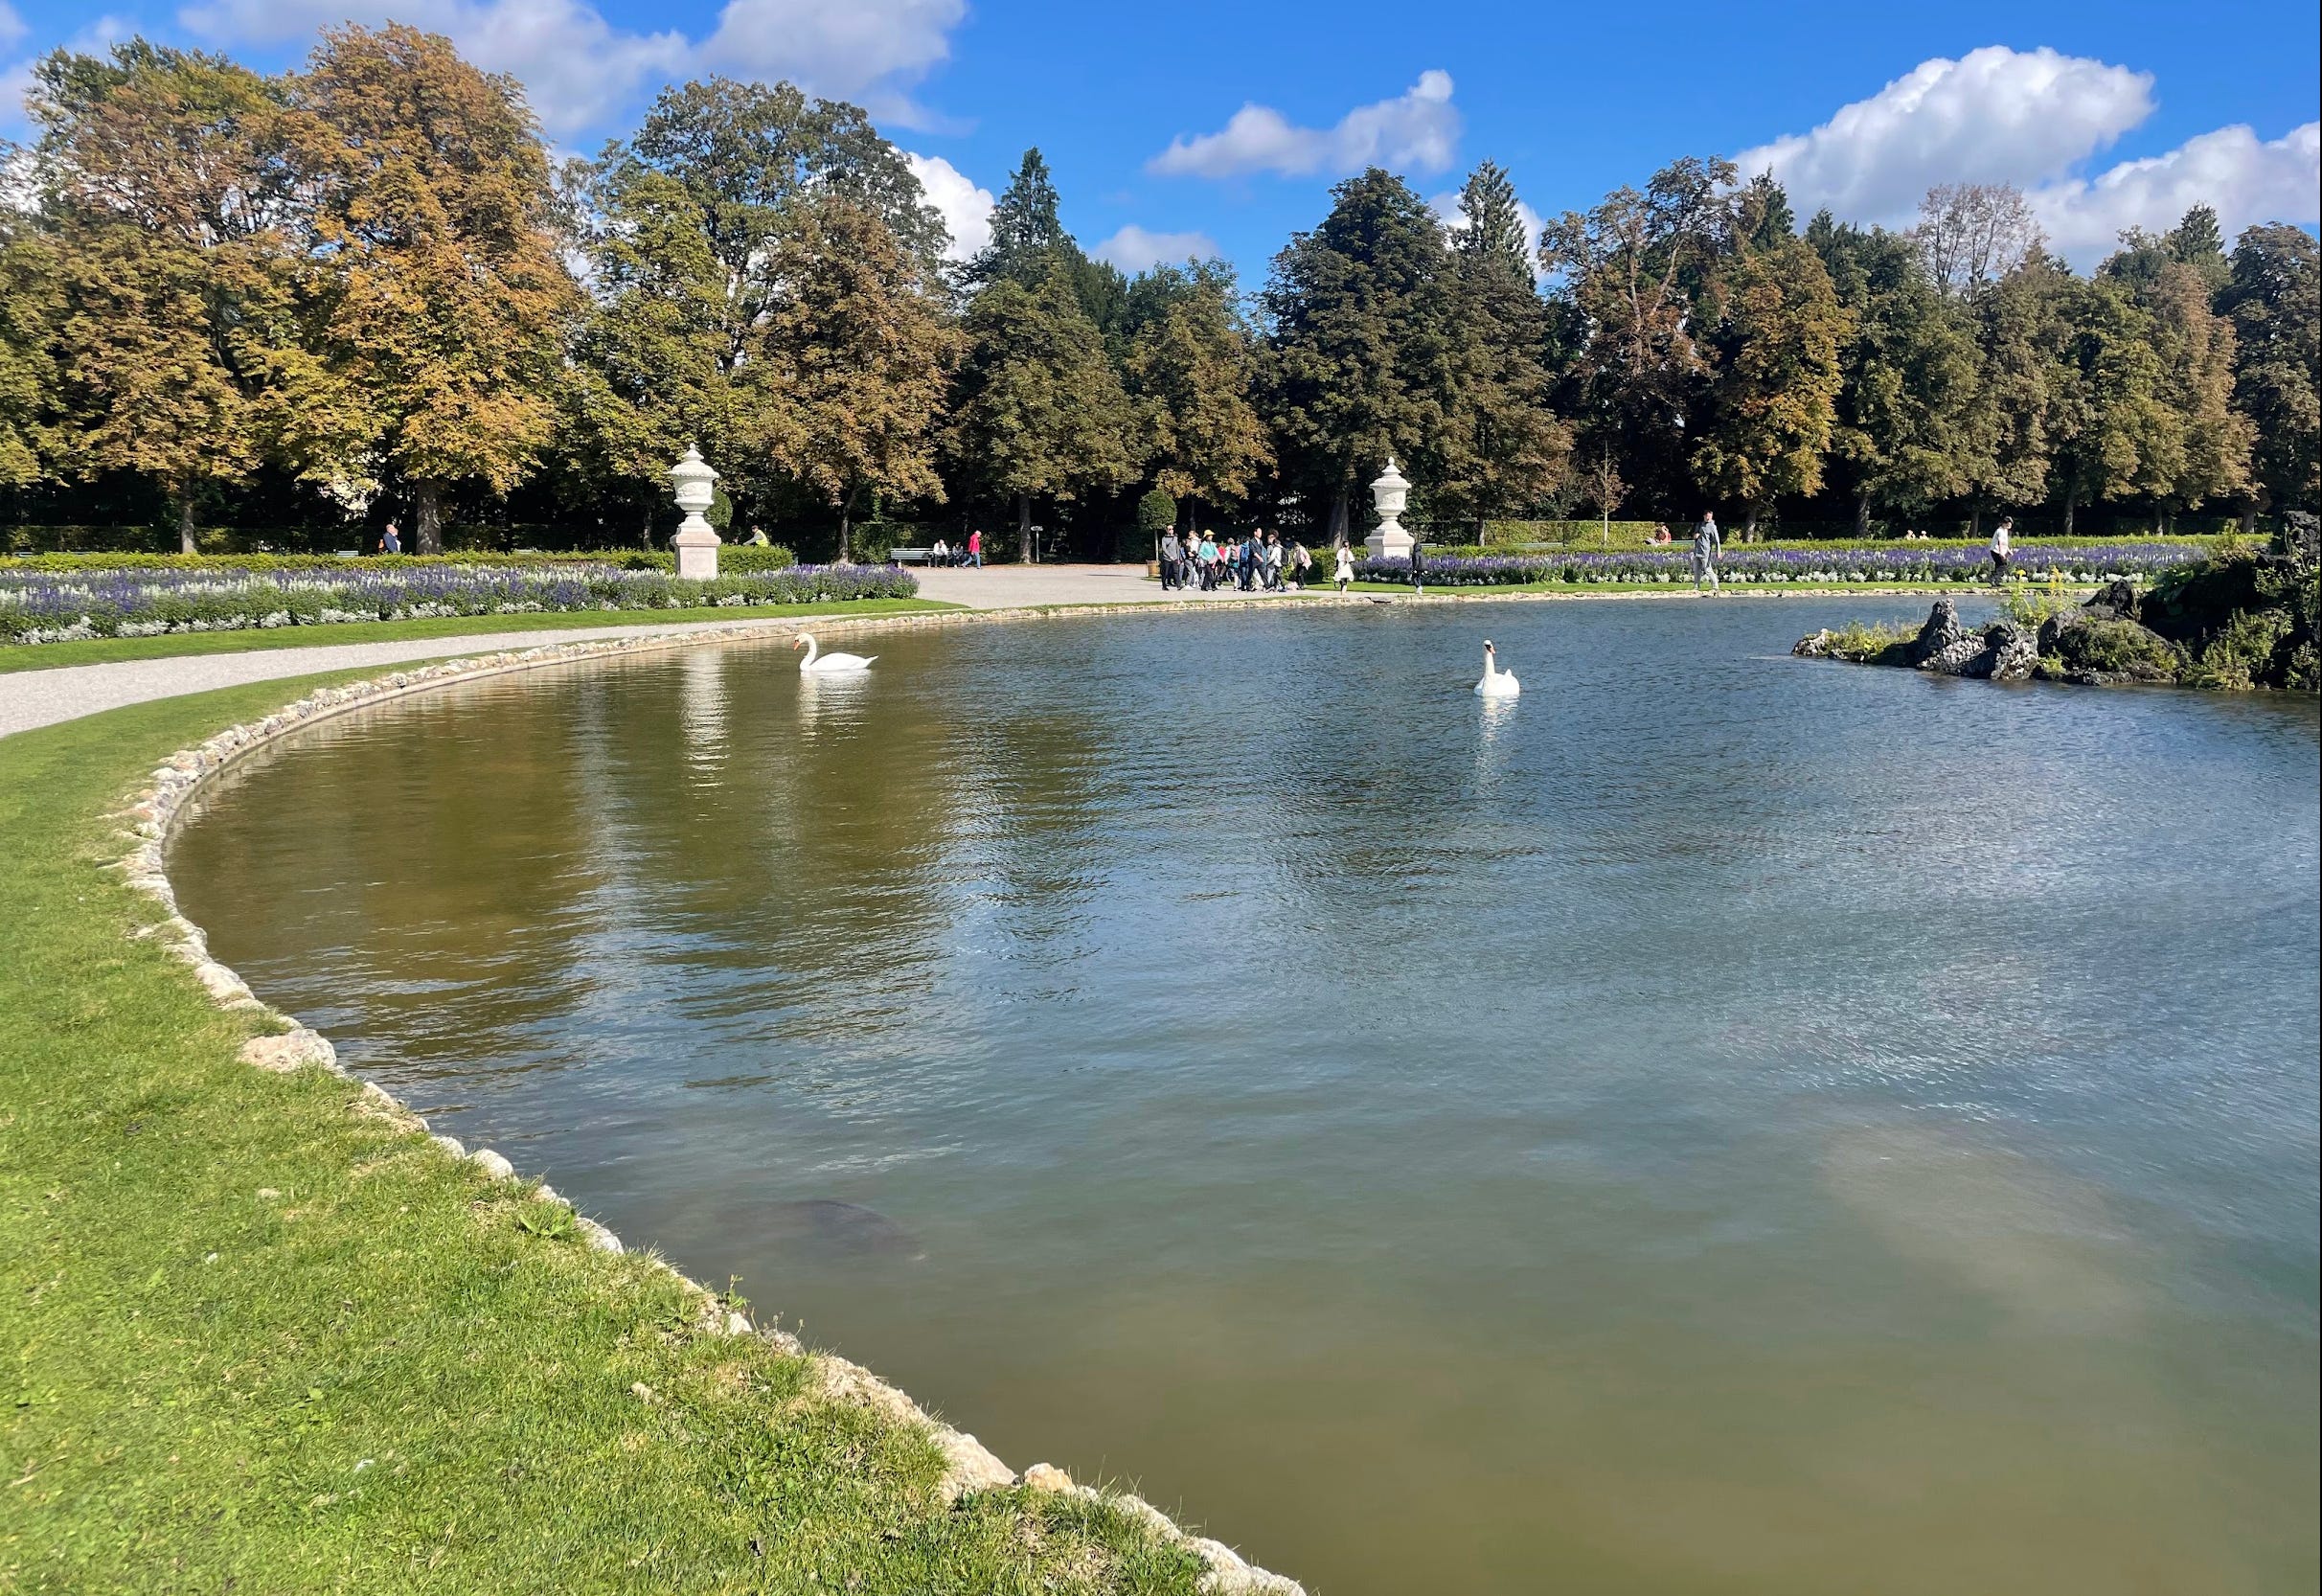
Again I wouldn't call this anything groundbreaking but it really saved my photos and dare I say countless hours!
I'd like to point out too - this came from my personal script not the tutorial repo I've posted that version is intended to be more generic / extendable.
Performance Insights
So I ended up running a similar script on my available hardware just to see how it performed. Please don't consider these scientific results so enjoy my misinformation.
So I ran the script on my M1 Pro Mac and M4 Mac, processing approximately 2,200 photos.
I ran what I call a 'sample' test, which processes ALL photos through ALL available 'presets'. With 5 filters, this meant processing 11,000 images on each machine.
For those interested, I ran each at roughly 20-30 steps to ensure high-quality output.
M1 Pro Mac:
Single preset: 1 hour 16 minutes
Sample preset: 6 hours 10 minutes
M4 Mac:
Single preset: 46 minutes
Sample preset: 3 hours 16 minutes
Pretty interesting I thought. Definitely a pretty big difference in just 3 years! Worth pointing out too my M1 is a "Pro" vs just a "Regular" M4.
Processing performance can vary significantly based on your hardware and software stack. Here's what I observed during my testing:
I do want to point out, doing this yourself, regularly, it might be worth it to invest in software that is probably at least a little more optimized. I can't exactly speak to it since I didn't test it myself though.
The M series Macs so far seem pretty power efficient as well for ML / AI tasks so probably a better option if you're interested in this stuff.
Optimization Tips and Alternatives
To maximize efficiency and output quality, consider these strategies:
Fine-Tune Parameters:
Adjust thresholds like
stepsandguidance_scaleOptimize for resolution and desired output quality.
The prompt itself of course!
Explore Alternative Models:
Open-source tools like Stable Diffusion.
Specialized editing models fine-tuned for photography.
Leverage Advanced Techniques:
Use image masking for selective edits.
Preprocess photos to improve model input quality.
Fine-tune custom models for specific aesthetic goals.
This is really where you could make things interesting.
Conclusion
I'll be honest - while this specific implementation might not be groundbreaking, what's fascinating is how accessible it is. Anyone with basic Python knowledge can write and run this script!
Whether you're a hobbyist photographer or a professional looking to streamline your workflow, there's significant potential here. I hope this repo serves as inspiration!
This project also raises interesting questions about:
The effectiveness of human-in-the-loop systems
Performance comparisons between different image models
The potential for AI programs to replace traditional SaaS solutions
It's an exciting time to experiment with these technologies, so I wanted to share my experience!
Resources
Enjoyed? Let’s make it official <3